If you’ve worked in digital long enough, you’ve probably heard it: “Couldn’t we just use ChatGPT to fix the accessibility stuff?”
It’s an honest question. The tools are impressive. AI can summarize dense docs, spit out code snippets, even draft copy that sounds decent. When you’re staring at a backlog with limited budget, “free and fast” feels like a gift.
Here’s the truth: speed without understanding rarely saves time. ChatGPT is great at producing. What it isn’t great at is deciding. And web accessibility—the real kind, not just error cleanup—is full of decisions.
So, while it can support web accessibility remediation, it can’t replace it. Because remediation isn’t just about fixing what’s broken; it’s about understanding why it broke and what the right fix means in the context of your design, your users, and your codebase.
What Remediation Really Looks Like
Real remediation is closer to detective work than to one-off development. You trace how a problem shows up in the interface, how it travels through templates, and why it keeps coming back.
It starts with discovery—learning how the site is put together and where risky flows live, like checkout or account pages. Then comes testing, both automated and human, to catch what scanners miss: poor focus order, ambiguous instructions, unlabeled controls, shaky widget behavior.
From there, you triage and translate findings into work your team can actually ship. You plan fixes, weigh impact and effort, and roll changes through your stack. Finally, you validate with real assistive tech—keyboard, screen readers, voice control—to confirm the fix is a fix for real people.
AI can sit beside you for parts of that journey. It can help reason through code or rephrase unclear labels. But it can’t feel when something “technically passes” yet still fails a user. That kind of judgment is learned, not generated—and it’s why web accessibility remediation stays a human-led process.
Where ChatGPT Earns Its Keep
Used by someone who understands accessibility, ChatGPT is genuinely helpful. It’s fast at rewriting small markup patterns. It can unpack a WCAG success criterion in plain language. It can draft alt text you’ll refine, or outline starter docs a team will own.
It’s also great for teaching moments: when a new dev asks, “Why ARIA here?” AI can frame the idea before a specialist steps in with specifics.
Think of it as an eager junior colleague—useful, quick, and worth having in the room. Just don’t hand it the keys.
The Problem of “No Opinion”
Here’s where AI hits the wall: it has no sense of context and no opinion of its own.
Accessibility isn’t a math problem. Two developers can solve the same issue differently—both valid on paper, one far more usable in practice. That judgment call is the job.
Because ChatGPT predicts what looks right, it can sound confident and still be wrong: adding a <label> but leaving a placeholder that confuses screen readers; copying a title into alt and causing duplicate announcements; “fixing” contrast by nudging color values without checking the full component state.
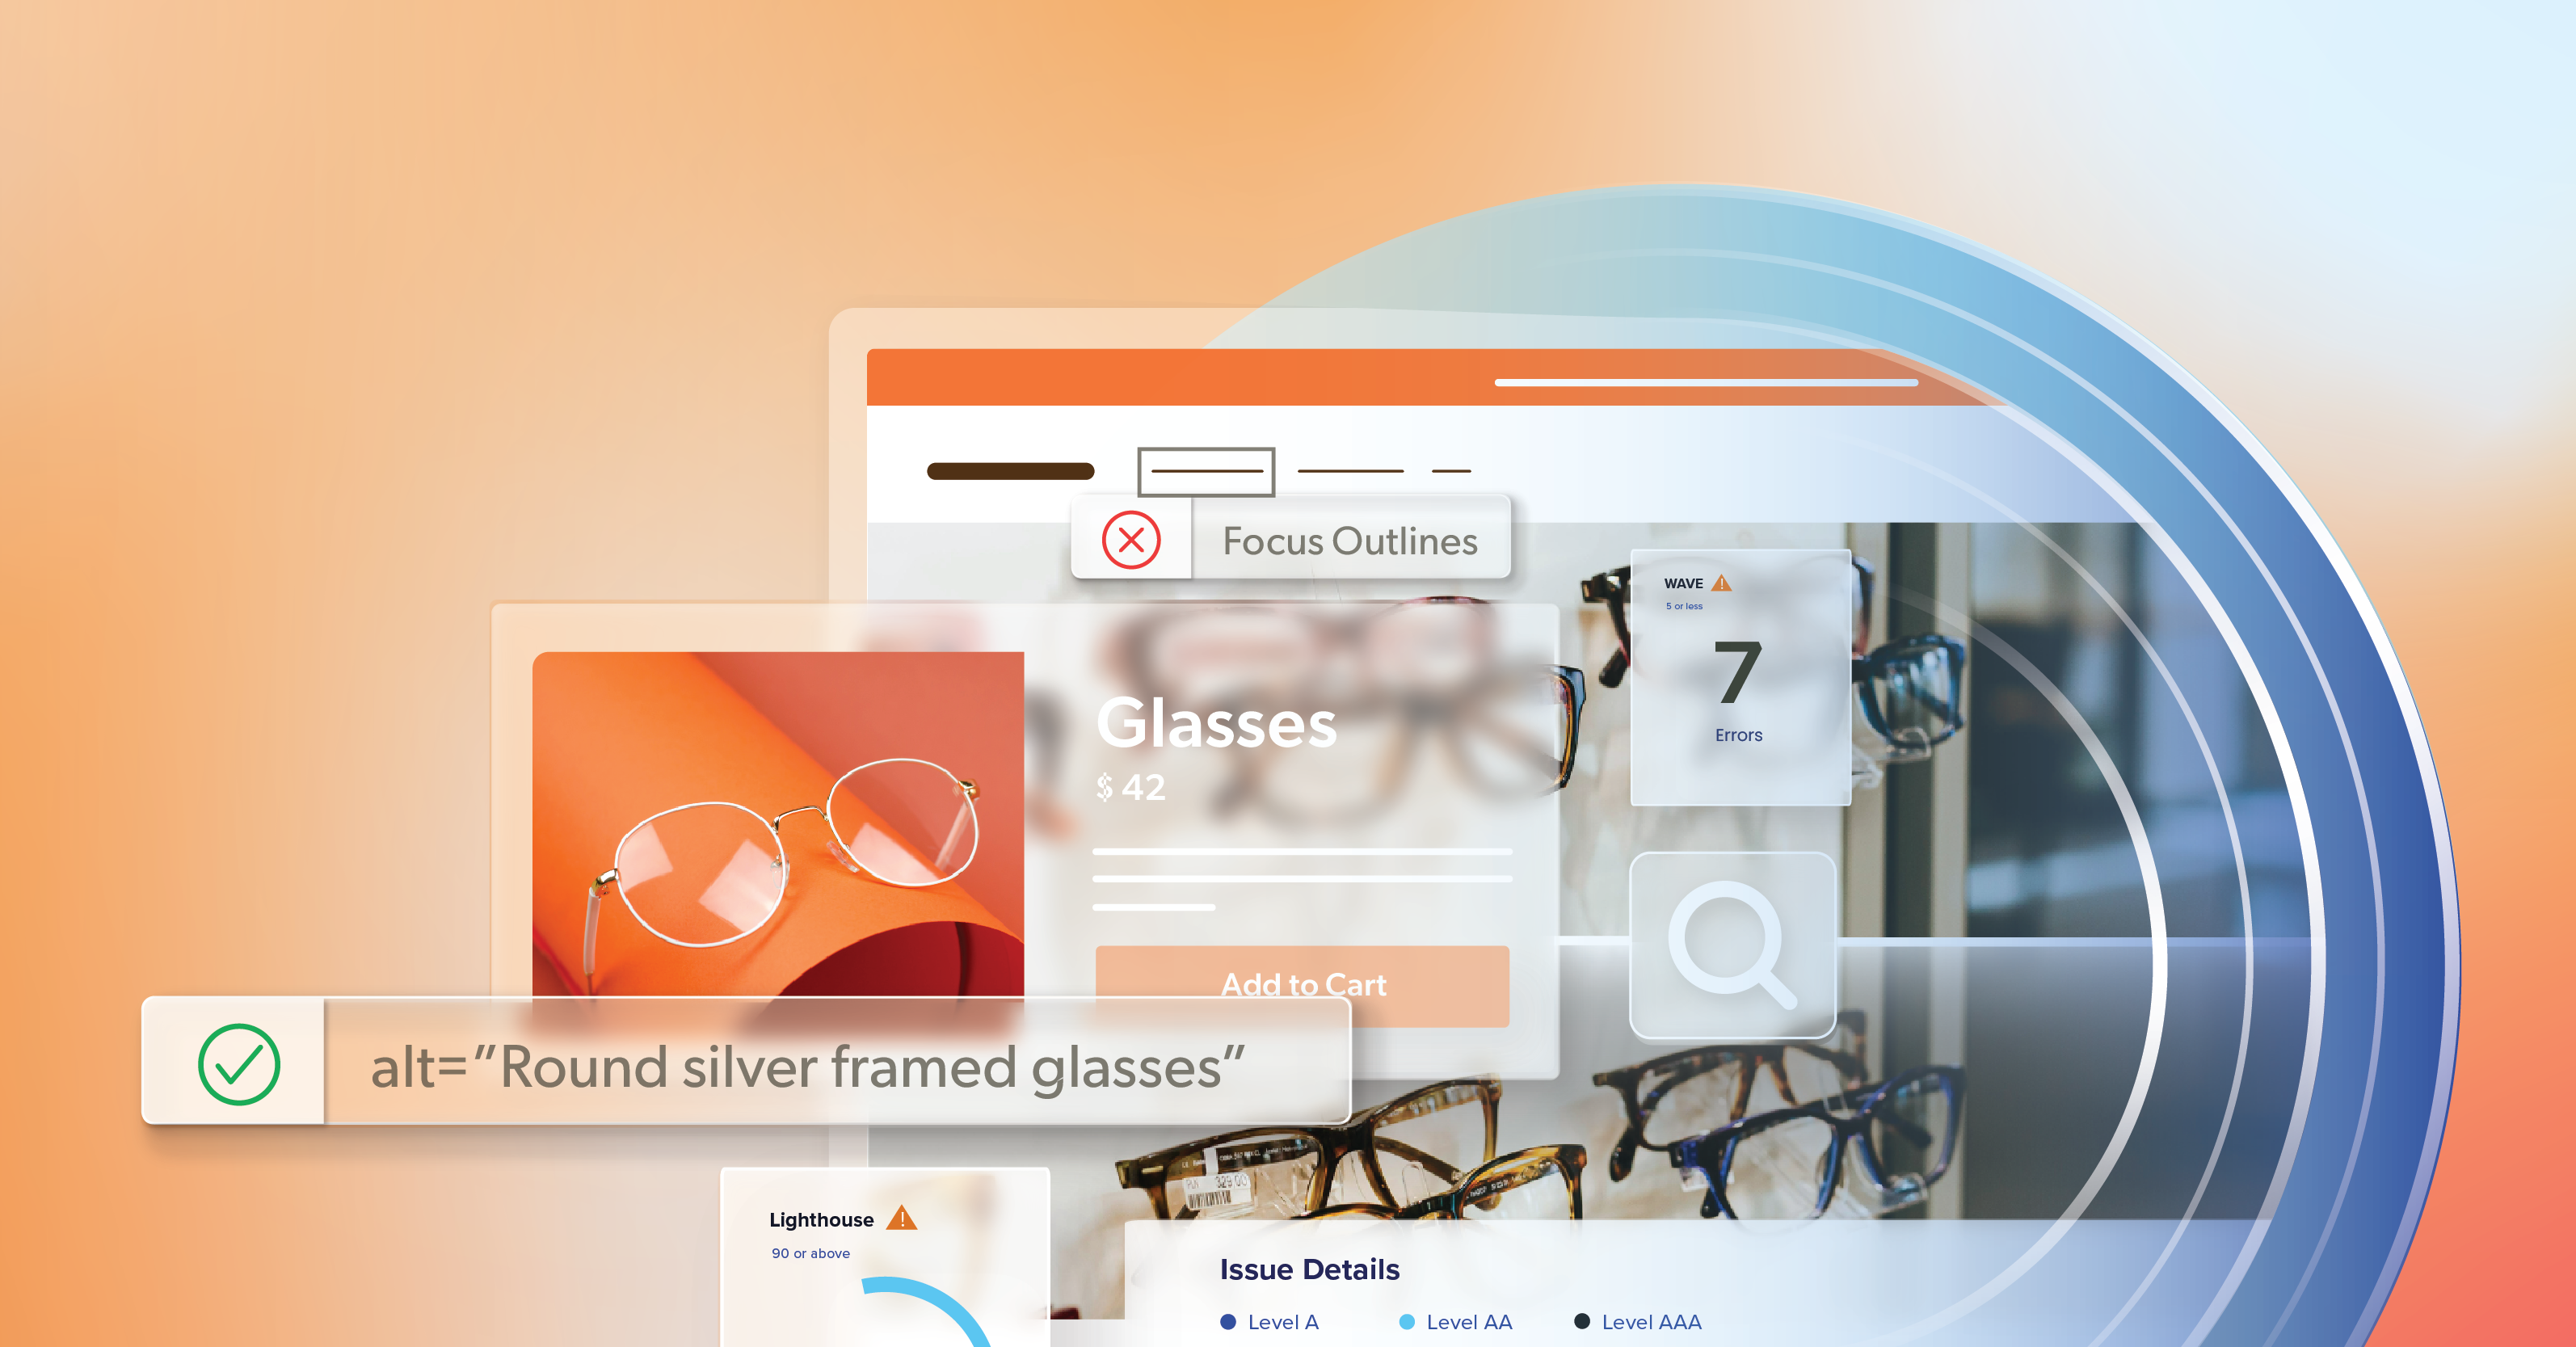
Some barriers simply require a human to decide. Take alt text, for example: ChatGPT can’t actually see what an image is, how it’s being used, or what role it plays in the design. It doesn’t understand whether that image conveys meaning or is purely decorative—and that context determines whether alt text is needed at all. Without that judgment, even the best AI guess risks being wrong for the user.
When you’re fixing accessibility, “almost right” is often still wrong. And when someone asks you to show due diligence, “we asked a chatbot” isn’t a defensible audit trail for web accessibility remediation.
The Hidden Cost of “Free”
Teams that lean too hard on AI learn fast that “free” isn’t free.
You spend hours double-checking output, rewriting prompts, and chasing new issues that didn’t exist before. Sometimes you even end up debugging phantom problems the model invented.
Meanwhile, the real barriers remain. Automated tools and AI together tend to catch only a slice of what actually affects users; the messy, contextual stuff slips through.
So the report looks cleaner, the error count drops, and real people still struggle. That’s not progress. That’s paperwork dressed up as progress—and it leaves risk on the table, which is the opposite of web accessibility remediation.
Even if AI manages to correct every automated scan error, it won’t protect you from real exposure. We’re now seeing a clear shift in ADA litigation: most new lawsuits aren’t built on automated findings anymore. They’re targeting manual issues—things uncovered by human testing and user experience barriers—because that’s where easy wins live for plaintiff firms. So even if AI covers one base, it leaves another wide open—and that’s the one most likely to cost you.
Why Human-Led Web Accessibility Remediation Still Matters
When you bring in a team that lives this work, you’re getting far more than bug fixes—you’re gaining traction. Instead of chasing one-off errors, you start to see the larger patterns behind what keeps breaking and why.
A strong remediation partner brings clarity to your roadmap by tying priorities to real user impact and legal risk. Their fixes hold up through redesigns because they focus on underlying causes rather than surface-level symptoms.
There’s also the advantage of human validation—review that’s defensible, thoughtful, and grounded in actual user experience. With the right process, accessibility becomes part of everyday development instead of something bolted on at the end.
That’s the real promise of web accessibility remediation: not perfection, but predictability you can trust as your site evolves.
How to Use AI the Right Way (With Guardrails)
AI belongs in the workflow. It just doesn’t belong in charge.
Use ChatGPT to speed up work you already understand, not to make calls you can’t verify. Let it draft checklists, summarize long audit exports, or propose markup for a pattern you’ve already chosen.
Then layer on what AI can’t do: manual testing, AT validation, and the human decision-making that turns “technically correct” into “genuinely usable.”
With that guardrail, AI becomes an accelerator for web accessibility remediation, not a shortcut that creates rework.
What You Actually Get from Professional Remediation
When you bring in a team that lives this work, you’re getting far more than bug fixes—you’re gaining traction. Instead of chasing one-off errors, you start to see the larger patterns behind what keeps breaking and why.
A good remediation partner helps you understand where to focus first by tying priorities to real user impact and legal risk. They deliver fixes that continue to hold up through redesigns because the underlying causes—not just the surface-level symptoms—are addressed.
You also gain something automated tools can’t offer: human validation that stands up to scrutiny. And with the right team, accessibility becomes part of how your site operates going forward, rather than something added after the fact.
That’s the real value of web accessibility remediation. It’s not about perfection—it’s about creating a level of predictability you can trust as your site evolves.
AI Doesn’t Make Judgment Calls—People Do
ChatGPT is a powerful tool. It can teach, inspire, and save time—but it can’t care. Accessibility is about care: for users, for quality, for inclusion.
AI can suggest the “how.” People understand the “why.” And perhaps most importantly, AI can’t shield you from the kinds of lawsuits that automation no longer catches.
If your team is experimenting with AI and you want to make sure it helps instead of hurts, start with a conversation. Schedule an ADA briefing with 216digital. We’ll show where AI fits safely, where human oversight is non-negotiable, and how to build a plan that keeps your site open to everyone.
That’s web accessibility remediation done right—fast where it can be, thoughtful where it must be.